How to Photograph the Northern Lights in Iceland
Published
Óðinn breaks down real camera settings for capturing the aurora in Iceland — whether you're shooting on a phone or a DSLR. No fluff, just what works.

The first time I missed a shot of the aurora, I was standing in a field outside Selfoss at 1am, freezing, holding my phone up like I was trying to FaceTime the sky. The lights were going properly mental — greens folding into purples, the kind of display that makes you feel briefly insane — and every single photo came out as a blurry grey smear. I could have cried. I nearly did. That night taught me more about aurora photography than any YouTube tutorial, so that's what this is: the stuff I wish someone had told me before I wasted that shot.
First, the unglamorous truth about chasing the aurora
People arrive in Iceland in October expecting the lights to just... appear. They book four nights, stay in Reykjavík, and check the sky app once before going to bed at ten. Then they leave disappointed. Here's how it actually works.
The aurora requires three things to line up: solar activity (measured on the Kp scale, 0–9), clear skies, and darkness. In Iceland, the Veðurstofa — the Icelandic Meteorological Office — publishes a free aurora forecast at vedur.is that updates regularly. Their cloud cover map is genuinely the most useful thing on the internet when you're planning a shoot night. Screenshot it. Check it obsessively. That's not a joke.
Autumn — specifically late September through November — is one of the better windows for aurora chasing in Iceland. You get proper darkness after about 8pm without having to stay out until 2am like you do in late August, and the weather, while unpredictable, can produce those crisp, clear nights that make for sharp shots. The shoulder season crowds are also thinner, which matters when you're trying to find a dark spot without seventeen other tripods in your frame.
Pro Tip: The Kp scale matters less than you think at Iceland's latitude. Even a Kp of 2 or 3 can produce visible aurora here, especially when you're away from light pollution. Don't hold out waiting for a Kp 5 forecast — you might wait the whole trip.
Related experiences


Getting away from Reykjavík (yes, you have to)
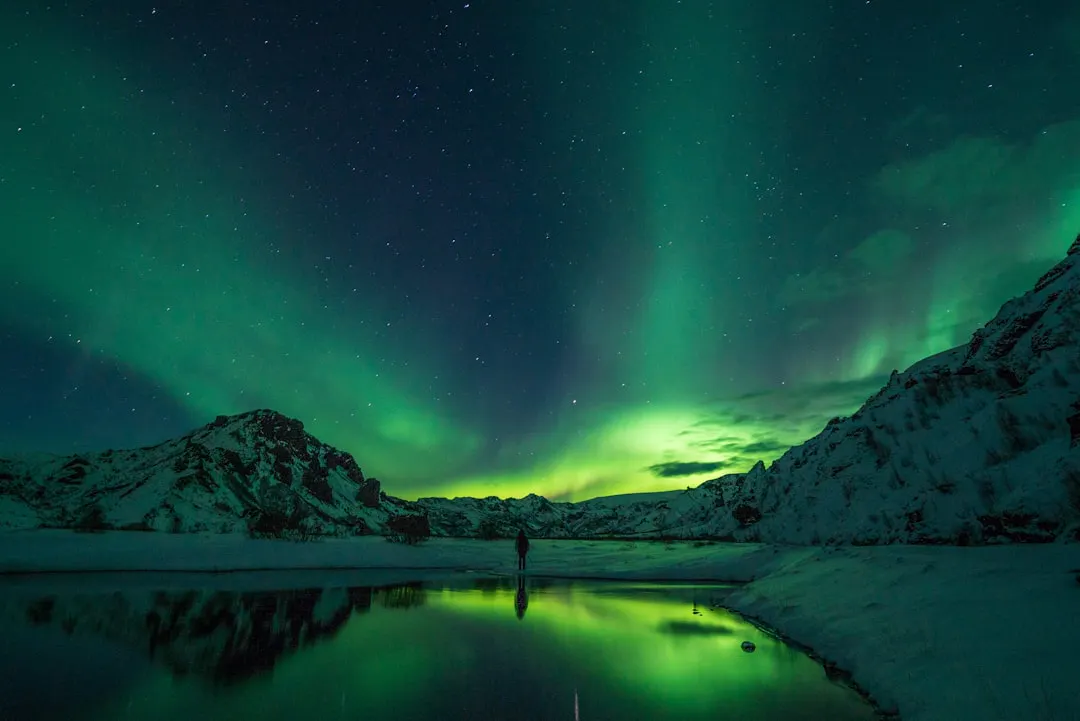
Light pollution kills aurora shots. Reykjavík glows orange on any clear night, and while you might glimpse something faint from Öskjuhlíð hill or the Grótta lighthouse area on the Seltjarnarnes peninsula, you're fighting the city the whole time. You need to drive.
The good news: thirty to forty minutes in almost any direction out of the capital and you're in genuinely dark territory. Route 1 east towards Þingvellir is reliable — pull off near the lake and you've got black sky, reflections in the water, and almost no traffic after 10pm. South along Route 39 towards Þorlákshöfn is another option. I've also had brilliant nights near Kerið crater, where the crater rim gives you a bit of foreground interest without needing to hike anything.
If you're based elsewhere — say, you've done the smart thing and booked accommodation along the south coast — Vík and the area around Reynisfjara are genuinely dark. Just check if the beach is accessible at night before you show up, and for the love of everything, watch the waves.
Pro Tip: Use the Light Pollution Map at lightpollutionmap.info before you go. You can plan your exact pullout spot from your hotel. Takes ten minutes and saves a lot of fumbling around in the dark.
Phone settings — because most of you are shooting on a phone
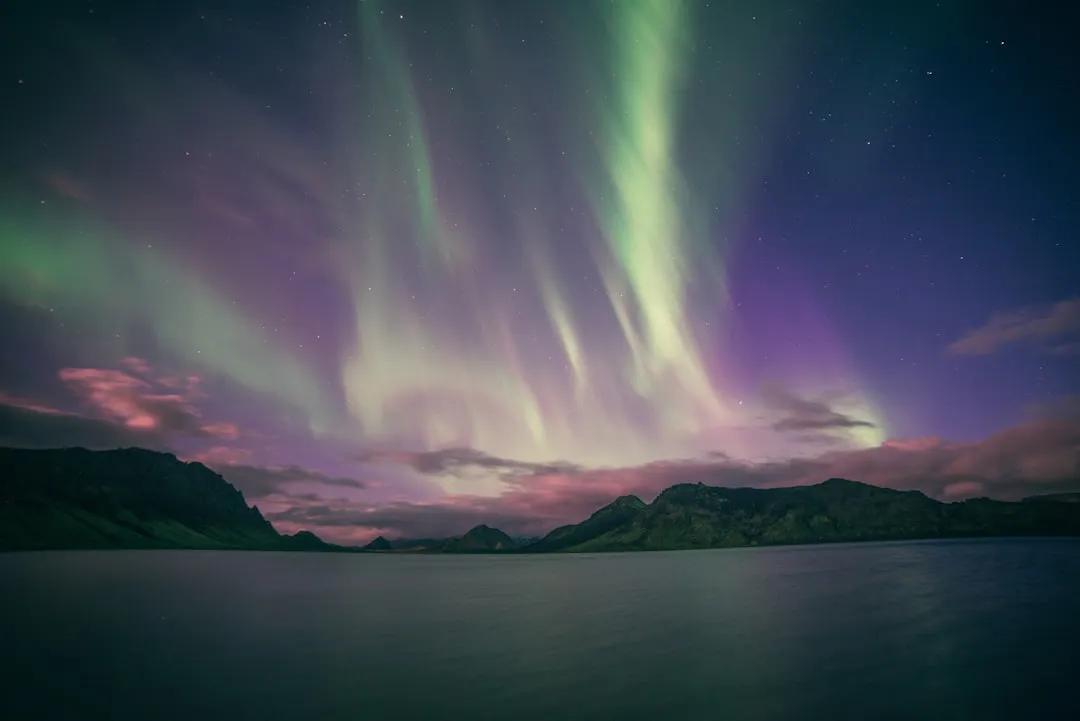
Right, let's be direct: the default camera app on your phone will produce rubbish aurora shots unless your phone is relatively recent and has a dedicated night mode. Even then, you're working around limitations. Here's what to actually do.
On an iPhone 14 or 15 (or anything with Night mode), lock your phone on a stable surface or a small tripod — the GorillaPod style ones are great for this — and let Night mode run for its full duration. The phone will stack exposures automatically. The result won't be as sharp or as detailed as a proper camera, but it won't be that grey smear either. Turn off the flash. Turn on a grid so you can keep the horizon level. That's the basics.
For more control, use a manual camera app. ProCamera and Halide are both solid on iOS. On Android, Open Camera is free and functional. You want to set your ISO somewhere between 1600 and 3200 — higher if the aurora is faint, lower if it's bright and moving fast. Exposure time between 5 and 15 seconds is your starting range. Focus manually on infinity; auto-focus has no idea what to do in the dark and will hunt around uselessly. Save in RAW if your app supports it, because the editing headroom is significant.
One thing people don't account for: your hands. Even a two-second exposure is ruined if you're holding the phone. Set a timer (2-second delay) or use a Bluetooth shutter remote. Cheap ones work fine. Buy one before you fly out.
DSLR and mirrorless — the settings that actually work
If you've brought a proper camera, the aurora is genuinely one of the more forgiving subjects once you understand the logic. It's a bright enough light source that you're not scraping the absolute limits of your sensor — you just need to be methodical.
Start here: lens wide open (lowest f-number you have, ideally f/2.8 or lower), ISO 1600, shutter speed 10 seconds. Take a shot. Check the histogram — you want it sitting in the lower-middle, not slammed to the left. If it's too dark, push the ISO to 3200. If the aurora is moving fast — ribbons shifting and folding — drop the shutter to 5 or 6 seconds and compensate by raising the ISO. A sharp shot at 6 seconds beats a blurry one at 15.
White balance: set it manually. Auto white balance will do different things on every frame, which makes editing a nightmare. Somewhere between 3500K and 4500K is usually realistic for aurora colour. You can always adjust in post, but consistency across a sequence is worth having.
Manual focus is non-negotiable. Switch to live view, zoom in digitally on a bright star, and turn the focus ring until that star is a pinpoint, not a blob. Lock it. Don't touch it again unless you change lenses. I've watched people spend an hour outside getting soft shots because they forgot to check focus after bumping the ring on a dark lens cap.
Shoot RAW. Always RAW. The aurora changes colour in ways that JPEGs crush — there are pinks and purples in the upper arc that only appear in the RAW file. Lightroom handles aurora RAW files well; the 'Dehaze' slider used subtly and the 'HSL' panel for green and teal are your friends in editing.
Pro Tip: Bring a headlamp with a red light mode. White light destroys your night vision and ruins the shots of whoever's next to you. Red light preserves your vision and keeps everyone around you significantly less annoyed at you.
The part about foreground that nobody talks about enough
The aurora alone is fine. The aurora reflected in a lagoon, or arcing above a glacier, or framing a basalt stack at Reynisfjara — that's a photograph. Foreground is what separates an aurora snapshot from something you'd actually hang on a wall.
Iceland is almost offensively well-stocked with interesting foreground. The problem is finding it in the dark without knowing the landscape first. My genuine recommendation: scout your location in daylight. Walk around. Note where the interesting rock formations are, where the reflective water sits, which direction is north. Then when the lights come out at 11pm, you're not fumbling around with a phone torch — you know exactly where to stand.
If you're joining us on one of the QR Travel Northern Lights tours, this is actually built into how we run the night. We visit the location earlier, talk through compositions, then return after dark. Not every operator does that, and it makes a visible difference to what people come home with.
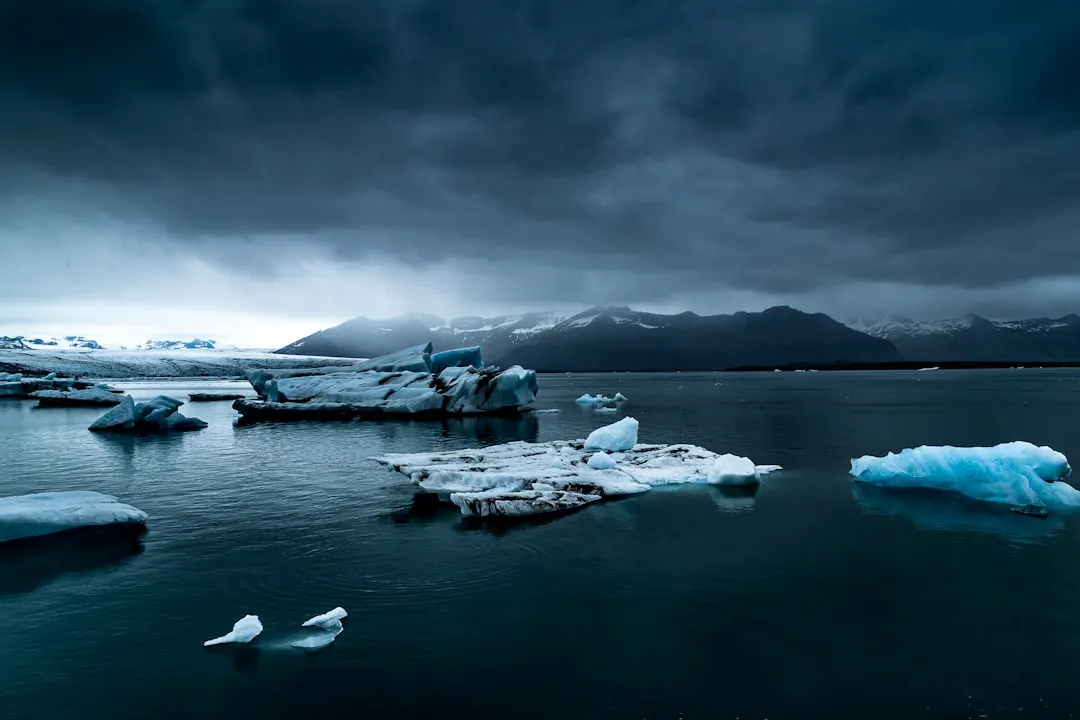
The glacier lagoon at Jökulsárlón is one of the most photographed aurora locations in the country for obvious reasons — the icebergs act as natural reflectors and the scale is hard to beat. It's a four and a half hour drive from Reykjavík, so plan around it properly rather than tacking it onto a long day. We run a south coast tour that overnights near Skaftafell, which puts you in that area for the evening without the brutal drive back.
Autumn conditions are specific — here's what to actually wear and carry
October in Iceland is cold. Not Antarctic cold, but standing-still-in-a-field-at-midnight cold, which is its own category. The temperature near the coast often sits between 2°C and 8°C at that hour, but wind chill and damp air make it feel significantly worse. The Keflavík area in particular is exposed — the wind comes in off the Atlantic with nothing to stop it.
Layers. A proper mid-layer (fleece or down), a waterproof outer shell, thermal base layers. Gloves that you can actually operate a camera in — the photographer gloves with foldable fingertips are worth the small cost. Wool socks. Don't wear jeans; denim gets cold and damp and stays that way.
For your kit: fully charged batteries, plus at least one spare kept in an inside pocket against your body (cold kills battery life fast). A head torch. Lens cloth for condensation — moving from a warm car to cold air will fog your lens immediately. A small bag or case that closes properly so your gear doesn't get wet if the weather turns.
Your car is your control room. Keep it running if you can, keep it warm. You'll want to retreat to it to review shots, warm your hands, and re-caffeinate. Bring a flask. Seriously, bring a flask — there are no cafes open at midnight between Vík and Höfn.
If you want a guided night that covers all of this — kit, location, settings — the QR Travel aurora photography experience runs from Reykjavík on evenings when the forecast is favourable. We don't go out when the sky is socked in with cloud; we actually check the forecast and make the call on the night. That flexibility is what makes or breaks an aurora chase.
Look, you might go out three nights and see nothing. That's Iceland in autumn — genuinely. The sky does what it wants. But if you're prepared with the right settings, the right location, and the right layers, the one night it happens you'll be ready to actually capture it rather than standing there holding a blurry phone at the sky like I did outside Selfoss. Come find me on a tour and I'll make sure you don't repeat my mistakes.

